Having a good looking stream is only the first step. Audiences need to be able to hear quality audio whether on a laptop, desktop speakers, or a mobile device.
Focus on the Front End

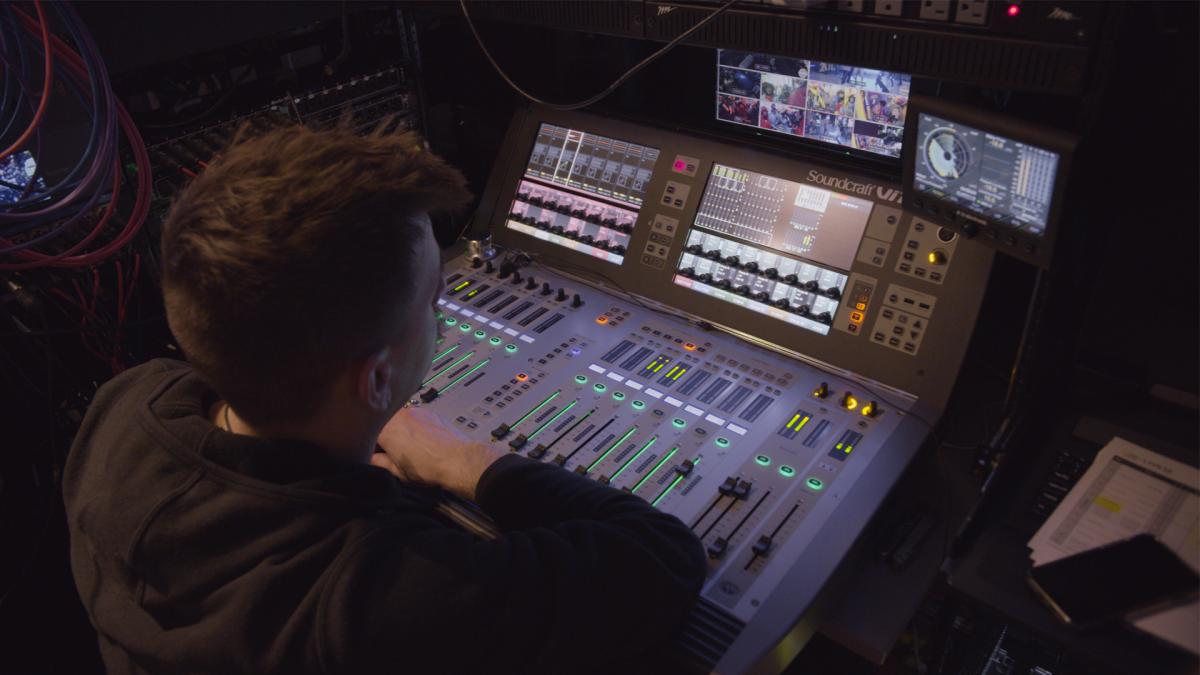
The front end of your signal chain is where you capture the source, turning air pressure into electrical energy. Basically, your front end encompasses your microphone, preamp, mixing console and analog to digital converters. Once you’ve captured your source, there’s only so much you can do to make it better, so it's important to make improvements at this phase.
Suss Out Your Signal Flow

Do a walk-through of your audio path from end to end (microphone to stream) and look for fail points. Any time you pass audio through an additional gain stage, turnaround, converter or amplifier, you run the risk of introducing artifacts that degrade your signal. Keep it simple and clean. As a bonus, your sanity will thank you when it comes time to troubleshoot.
Pay Attention To Your Processing

You will regularly need to process a signal to shape it into something presentable before it hits the stream. Start with the necessities; a high-pass filter to remove excessive low-end rumble, slight corrective EQ (or extreme corrective EQ, if necessary) and enough dynamic range compression to control volume while still sounding natural. Always be sure to hit bypass to make sure what you’re doing is an improvement.
Stick To Good Gain Structure

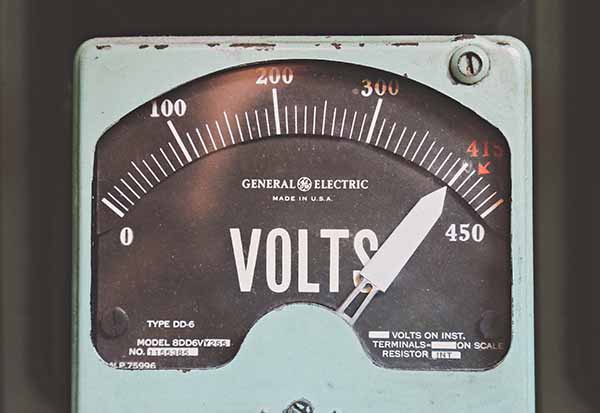
Delivery of audio in streaming should be strong enough to play on laptops and mobile devices. Many content creators make the mistake of running their mics and input channels hot, to get a loud enough signal to their stream. This strategy can degrade your audio quality by introducing distortion giving you little headroom to do any processing. Each component of your system has a nominal operating level, a.k.a. “the sweet spot” by design. You’re looking to keep each element in your signal chain working in its nominal range, where you stand to minimize distortion and maximize dynamic range. Send signal down the line and use your gain trims at each stage to adjust input and output levels. I like to use music or an oscillator for this adjustment. A good rule of thumb is to keep your individual channel levels averaging around -18dBFS, with peaks hitting not much higher than -6dBFS before you hit your program bus. From there you can add gain as needed to hit your target level for delivery.
Bump Up Your Audio Bitrate
Ever listen to a low-quality mp3 and compare that to a CD? Now imagine an encoder doing that process on the fly. It’s not a perfect process, and there’s a pretty wide margin for error. Your well thought-out system has the potential to be severely bottle-necked at the encoder, so moving from a 128kBps audio stream to a 192kBps or 256kBps stream will immensely help you deliver a quality product to the end user. Of course, this all depends on your available data bandwidth. Since audio doesn’t take up much space in comparison to video, it will be worth the increase.
BONUS: Acoustically Treat Your Space
If you have a studio, you’ll benefit from spending money on proper acoustic treatment. The goal of acoustically treating a space is to absorb and diffuse nasty ringing artifacts, reverberation, and low-frequency standing waves so that they don’t negatively affect what your mics are picking up. Although foam is a popular choice, all it does is kill high frequencies in your space, resulting in a slightly strange, muted effect. Your best bet is to use materials that are far more effectual, such as Owens Corning 703/705 and Roxul Safe n’ Sound. These materials are the standard use in recording studios, venues and sound stages across the globe. As raw materials, they are quite affordable, though you’ll just need to frame and wrap them in an acoustically transparent fabric. Some companies beautifully manufacture acoustic panels too. Just make sure they are constructing them from proven materials, such as the products mentioned above.
This is just the tip of the iceberg that is quality audio for streaming. Stay tuned for more in-depth ways on how to create the best audio for your live streaming broadcasts.


